
How to clip Twitch streams for TikTok
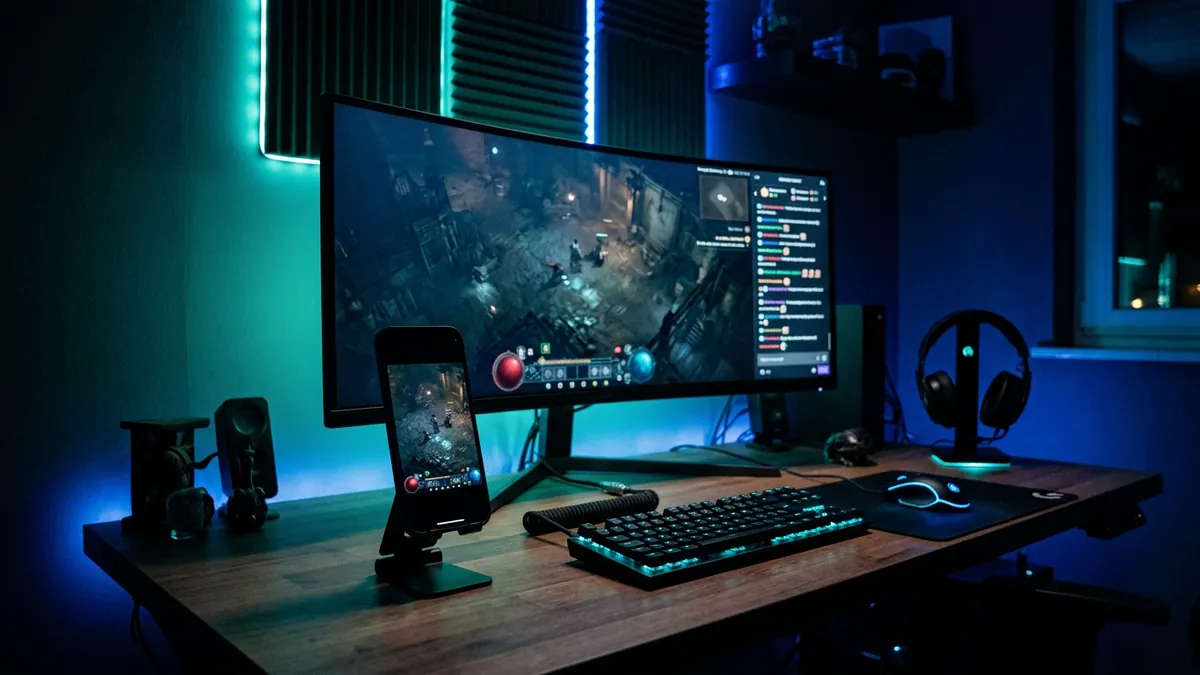
To clip Twitch streams for TikTok, get permission (or use your own stream), save the footage, cut one strong moment, reframe it to a vertical 9:16 video with readable captions, then post it on TikTok with credit to the streamer. This guide walks through each step, from getting the footage to posting.
Check you are allowed to clip the stream
This comes first because it decides everything else. A stream being public on Twitch does not mean you can repost it. The streamer's content belongs to them, and Twitch's Terms of Service do not let you download or redistribute material from the service except where Twitch allows it.
TikTok says the same thing from the other side. Its Community Guidelines say you should only post content you created or have the right to share, and its copyright policy allows TikTok to ban accounts that repeatedly infringe.
You are on safe ground when one of these is true:
- It is your own stream. You can clip it however you like (just watch out for music and other people's content shown on stream).
- You joined a clipping campaign for that streamer. The campaign brief is your permission, and it tells you exactly what you can clip and how. Our beginner's guide to clipping explains how campaigns work.
- The streamer told you yes. Get it in writing, even a Discord message, and keep it.
If none of these apply, ask the streamer first. Many are happy to have clippers, and asking turns a risk into a working relationship.
Get the stream footage
Where your footage comes from depends on who you are. Better source footage means sharper clips, so pick the best option you have.
If it is your own stream
- Record locally while you stream. In OBS you can record and stream at the same time. A local recording is usually the cleanest copy you will ever have, because it has not been squeezed for live streaming.
- Download your past broadcast. Turn on storing past broadcasts in your Twitch settings, then download them from the Video Producer in your Creator Dashboard. Twitch only keeps past broadcasts for a limited time, so download soon after the stream. Check Twitch's help page on past broadcasts for how long yours are kept.
- Use Twitch Clips for quick moments. According to Twitch's developer documentation, a clip can be 5 to 60 seconds long, and the default is 30 seconds. As the streamer, you can manage and download clips of your channel from your Creator Dashboard.
If you clip for someone else
Follow the campaign brief. Some campaigns share source files or a folder of VODs. Others point you to the streamer's channel and say which streams are allowed. If the brief does not say how to get footage, ask the campaign's support before you start.
If you want to clip while the stream is live
Some tools keep a short rolling recording so you can save a moment seconds after it happens. In Clipper X, for example, the Live page can watch a public Twitch stream you own or have permission to clip, or take video straight from your own OBS, and saves a moment when you press Clip that. Any method works, as long as the footage is footage you are allowed to use.
Find the moment worth clipping
A four-hour stream might hold five clips worth posting. Your job is to find them without watching every minute at full attention.
- Watch for spikes. Sudden shouting, laughter or silence after a big play usually marks something worth a look.
- Follow chat. If chat suddenly fills with the same reaction, something happened a few seconds earlier.
- Check what viewers clipped. If the channel allows viewer clips, the most-viewed clips from a stream point straight at its best moments.
- Use markers. If it is your stream, drop a stream marker when something good happens so you can find it later.
- Ask the outsider question. Would someone who has never seen this streamer get it in three seconds? Inside jokes rarely travel. A fail, a clutch play, a strong opinion or a funny reaction usually does.
For more on this, see our guide to finding viral moments in a long stream.
How to clip Twitch streams for TikTok, step by step
These steps work in any video editor. The tool only changes how fast you get through them.
- Cut the moment tight. Start as close to the action as you can. Then trim the end so the clip finishes on the payoff, not on the streamer reading chat afterwards.
- Check the first two seconds. Scrolling viewers decide almost instantly. If the opening is calm, move the start later or put a short title on screen that sets up what is coming.
- Reframe to vertical 9:16. TikTok is a tall phone screen. A wide 16:9 stream needs to be cropped or split into a vertical layout. A common export size is 1080 x 1920 pixels.
- Choose a layout. Face cam on top and gameplay below, or one picture filling the screen. See the table in the next section.
- Add captions. Many people scroll with the sound off. Word-by-word captions keep them watching.
- Add a short title if it helps. One line that sets up the moment, like "He did not see the second one". Keep it honest.
- Check the audio. Make sure the voice is clear over game sound, and that the clip does not start or end mid-word.
- Export and watch it once on your phone. Things that look fine on a monitor can be too small or covered by TikTok's buttons on a phone.
How long should the clip be? As long as the moment needs and no longer. Our guide to the best clip length for TikTok, Shorts and Reels goes into this. If you clip for a campaign, its brief may set a minimum or maximum, and that always wins.
Pick a vertical layout
Turning a wide stream into a tall video is the step most beginners struggle with. Most Twitch clips fit one of these layouts.
| Layout | What it looks like | Best for |
|---|---|---|
| Split: face cam and gameplay | The streamer's camera on top, the game below | Reactions to something that happened in the game |
| Full gameplay | One cropped section of the game fills the screen | Plays where the action matters more than the face, or streams with no camera |
| Full face cam | The camera fills the screen | Just Chatting, stories, hot takes and IRL moments |
Tips that apply to every layout:
- Keep the whole face in frame with a little space around it.
- Keep the key action near the middle. The edges of a TikTok are often covered by buttons and text.
- Do not stretch the picture to fill the screen. Crop it instead.
- If the streamer's camera overlay moves during the clip, check your crop at several points, not just the first frame.
Clipper X has the split and full layouts built in, and you drag the face cam and gameplay boxes on the preview to place them. Our article on face cam and gameplay split screens covers framing in more detail.
Captions and on-screen titles
Captions are not decoration. They carry the clip for anyone watching on mute, and they help viewers follow fast talk over loud game audio.
- Make them big and bold, with a thick outline so they stay readable over bright game scenes.
- Show a few words at a time. Long sentences on screen are hard to read while the video moves.
- Place them in the middle area, away from TikTok's caption text at the bottom and buttons on the right.
- Fix mistakes. Automatic captions often get names, game terms and slang wrong. Read every line before you export.
- Keep titles honest. A title that promises something the clip does not deliver gets people to scroll away, and campaigns often reject misleading titles.
For a full walkthrough, see how to add captions to gaming clips.
Posting on TikTok
A good clip can still underperform or get removed if you post it carelessly. Before you press Post:
- Credit the streamer. Name them in the description, using the exact format the campaign asks for if you clip for one.
- Disclose paid content. If you are paid to promote a creator or brand, TikTok asks you to turn on its content disclosure setting, which adds a "Paid partnership" or "Promotional content" label. TikTok notes the label cannot be changed after posting, so set it before you publish. In the US, the FTC also expects clear disclosures on screen and in the audio, not only hidden in a description.
- Add something of your own. TikTok's guidelines say content can be left out of the For You feed if it "includes unoriginal or reused material without anything new". Good framing, captions, a title and a tight edit are what turn a raw stream cut into your clip.
- Watch out for music. Copyrighted music playing in the background of a stream can get a clip muted or removed. If you can, pick moments where it is not playing.
- Write a plain description. Say what happens in a few words, plus any tags the campaign requires.
- Do not edit or delete after submitting. If the clip is for a campaign, changes after you submit the link are a common reason for rejection.
The same vertical clip can usually go to YouTube Shorts and Instagram Reels too. YouTube says Shorts can be up to 3 minutes long. Only post to the apps a campaign allows, and give each upload its own description.
Common mistakes
- Clipping without permission. It can cost you clips, your account and your reputation with streamers. Clip your own streams or join a campaign.
- A slow start. Ten seconds of setup before anything happens loses most viewers.
- Squashed or stretched video. Always crop to 9:16. Never squeeze a wide picture into a tall frame.
- Tiny captions in the wrong place. If the buttons cover them on your phone, they cover them for everyone.
- Uncorrected captions. A wrong name in the captions looks careless, and the streamer's fans will notice.
- Posting the whole stream in parts. Clipping means short, chosen moments, not reuploading streams.
- Giving up after a few clips. Most clips get few views. That is normal, not a sign you are doing it wrong.
Frequently asked questions
Is it legal to clip someone else's Twitch stream for TikTok?
Only with permission. The stream belongs to the streamer, and both Twitch and TikTok tell you to post only content you have the right to share. A clipping campaign or the streamer's written OK gives you that permission. Rules on things like fair use differ by country, so when in doubt, ask the streamer.
How long can a Twitch clip be?
A Twitch clip made with Twitch's own Clips tool can be 5 to 60 seconds long, with 30 seconds as the default. For longer moments, streamers can work from their past broadcast or a local recording instead.
What size should a TikTok clip be?
Vertical 9:16. A common export size is 1080 x 1920 pixels, which looks sharp on phones. Keep faces, action and captions away from the very edges, where TikTok places its buttons and text.
Can I download my own Twitch streams?
Yes. Turn on storing past broadcasts in your Twitch settings, then download them from the Video Producer in your Creator Dashboard. Twitch keeps them for a limited time, so save them soon. Recording locally in OBS while you stream gives you a copy straight away.
Do I need to credit the streamer on TikTok?
Yes. It is fair to the streamer, it sends viewers their way, and campaigns usually require a specific credit format. Put it in the description, and on screen too if the brief asks for it.
Do I need special software to clip Twitch streams?
No. Any video editor that can crop to 9:16 and add captions will do. Dedicated clipping tools mainly save time on finding moments, framing and captions.
Keep reading
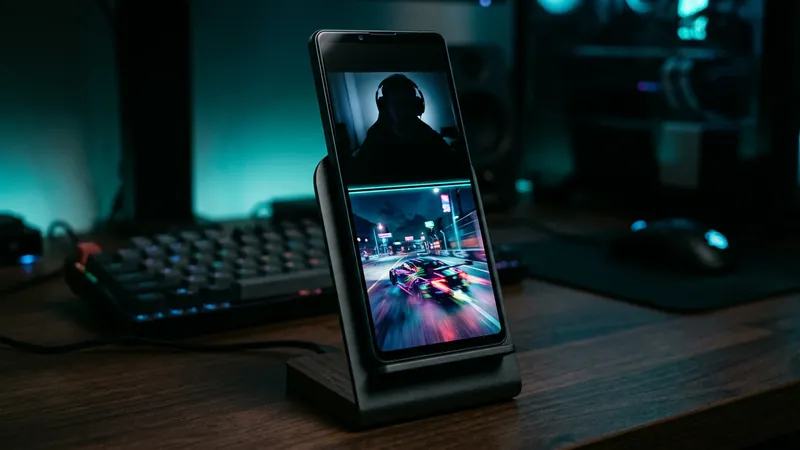 Face cam and gameplay split screen for vertical videosHow to stack a face cam over gameplay in a 9:16 vertical clip: exact split sizes for 1080 x 1920, framing tips, caption placement and common mistakes.
 How to add captions to gaming clipsHow to add captions to gaming clips: generate a transcript, fix misheard names and game terms, and style bold captions that stay clear over busy gameplay.
 Best clip length for TikTok, YouTube Shorts and ReelsThe best clip length for TikTok, YouTube Shorts and Reels, with each platform's current limits and a simple way to trim gaming clips to the right length.