
How to find viral moments in a long stream
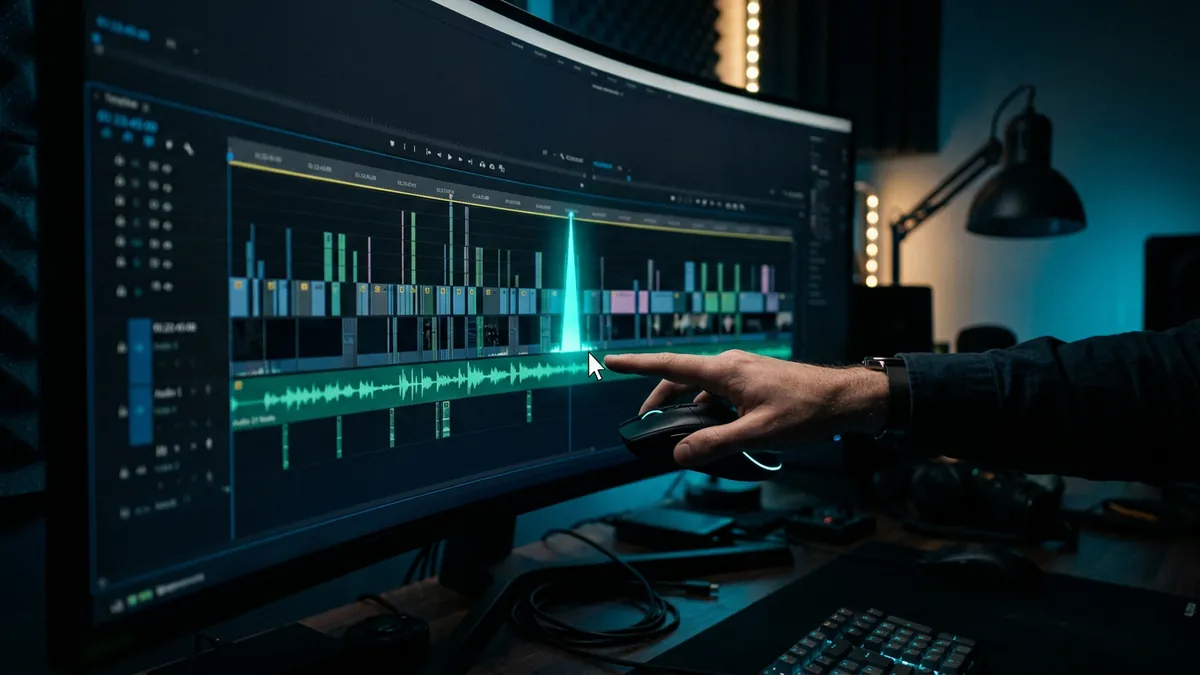
To find viral moments in a long stream, do not watch it from start to finish: scan for signals first (spikes in chat, loud reactions, rewatched sections, key words in the transcript), jump to those spots, and keep only moments that make sense to a stranger within the first few seconds. A tool can shortlist moments for you, but your own judgement picks the winners.
A word on expectations first. Nobody can tell in advance which clip will take off, and most clips get modest views. What you can do is raise your odds by posting more of the right kind of moment and fewer weak ones. That is what this guide is about.
What makes a moment worth clipping
Short-form viewers scroll fast and arrive with zero context. They did not see the four hours before your clip. The moments that work best usually have most of these:
- A clear payoff. Something happens: a clutch play, a huge fail, a jump scare, a ridiculous bug, a perfect comeback line.
- A big, honest reaction. Screaming, laughing until they cannot talk, stunned silence. Viewers react to the person as much as the game.
- Little setup needed. The viewer understands what is going on within a few seconds, or a short title can explain it.
- A line that works on its own. A quote people would repeat in the comments or send to a friend.
- Something to argue about. A hot take or a questionable decision gets comments, as long as it is not cruel.
- The creator's usual personality. Clips that show what makes this streamer different tend to bring the right viewers back to them, which is often what a clipping campaign actually wants.
Notice what is missing: "a lot happened". Long stretches of solid gameplay are often great to watch live and hard to clip, because the good part only makes sense after twenty minutes of context.
Before you start: permission and the brief
Only clip streams you own or have permission to use, for example through a paid clipping campaign or written permission from the creator. A public VOD is not permission. Our guide to clipping without copyright strikes covers this, including why background music and reaction content need extra care even when you have permission.
If you are working on a campaign, read the brief before you hunt. Campaigns often say what kind of moments the creator wants, what to avoid, and which streams count. Five minutes reading the brief saves hours of clipping moments that will not be accepted.
How to find viral moments in a long stream, step by step
This method works with any video player and any editor. The idea is to spend most of your time on the few minutes that matter, not the hours that do not.
- Open a notes file. Every time you find a candidate, write the timestamp and three or four words about it, like "2:14:30 rage quit, chair spin". You will pick from this list later, not while scrubbing.
- Check the chat replay. Where the platform shows chat on the VOD, scroll through it fast. A sudden wall of messages, laughing emotes or the same word spammed by many people is a strong sign something happened a few seconds earlier.
- Look at the loud parts. In most editors you can see the audio waveform. Tall spikes in the streamer's voice often mean a reaction. Jump to each spike and check what caused it.
- Use replay data if it is there. On YouTube, many longer videos show a "Most replayed" graph above the progress bar when you move along it. Peaks show what other viewers went back to watch again.
- See what viewers already clipped. If viewers made clips of the stream on the platform, those show which moments the audience cared about. Do not repost their clips. Use them as a pointer, then cut your own version from footage you have permission to use.
- Search the words. If you have a transcript, search for phrases people say when something big happens: "no way", "chat", "did you see", "clip that", the streamer's catchphrases, and names of bosses or rivals.
- Skim the rest at speed. Play the gaps at a faster speed with sound on. You are listening for a change in energy, not watching every frame.
- Watch each candidate properly. Go back to each timestamp on your list and watch a minute before and a minute after. Note where the setup really starts and where the payoff ends.
On a long stream, the first passes (chat, loud parts, replays, transcript) often give you more candidates than you need. The full skim is a safety net for quiet moments the signals miss.
Signals compared: what each one catches and misses
No single signal is reliable on its own. Loud does not always mean good, and some of the funniest moments are quiet. Use two or three together.
| Signal | Good at finding | Blind spot |
|---|---|---|
| Chat spikes | Moments the live audience reacted to | Chat lags behind the moment; busy chats are always busy; giveaways and raids cause spikes too |
| Audio loudness | Screams, big laughs, rage, hype | Loud game sounds and music; dry jokes and quiet "wait, what?" moments |
| Replay graph | What VOD viewers rewatched | Only on some videos; can point to things like a song or a reveal rather than a reaction |
| Viewer clips | Moments fans already thought were worth sharing | Not every stream has them; popular moments may already be heavily clipped |
| Transcript search | Quotable lines, named events, catchphrases | Speech recognition makes mistakes; silent visual moments do not show up |
| Skimming at speed | Anything, including quiet visual moments | Slow and tiring on very long streams |
Catching moments while the stream is live
The easiest moment to find is the one you mark the second it happens. If you watch the stream live, keep your notes file open and write the time whenever something lands. If you are the streamer, many streaming setups let you save a replay buffer or drop a marker with a hotkey, so you can find the moment again after the stream.
Clipper X has a Live page for this. It keeps a rolling buffer of up to the last 15 minutes of a stream you own or have permission to clip, from a live link, from OBS directly, or from OBS's recording folder. Press Clip that, or the C key on the Live page, just after a moment, and it saves 15, 30, 45 or 60 seconds before your press plus 10 seconds after. There is also an optional Auto-clip loud reactions mode with Fewer, Normal or More settings. It looks for sudden loud moments, checks the speech, rejects some, waits at least 45 seconds between moments, and stops after 5 finished clips. The Clipper X guide has the full setup.
Whatever you use, live marking catches the moment but not always the whole setup. Review each saved moment afterwards and trim it.
Letting software do the first pass
On a five-hour VOD, a tool that shortlists moments can save a lot of scrubbing. The common approaches are:
- Loudness detection: finds spikes in volume. Fast and simple, with the blind spots in the table above.
- Transcript and language models: turn speech into text, then ask an AI model to pick moments that sound like a story, a joke or a reaction.
- Your own judgement: still needed at the end, every time.
Clipper X does both of the first two. With Auto clip on, it finds moments and makes the clips for you; with no AI service set up, it picks the loudest moments, so you need no API key. In the Editor, Suggest moments adds up to 5 possible clips to your list. If you connect an AI service with your own key, only the spoken words with their times, marks for loud moments and your display name (if set) are sent, not your video picture or sound. You can also choose a model that runs on your own PC. Suggestions are marked AI so you can watch, trim or delete each one.
Treat any suggestion, from any tool, as a candidate on your list, not a finished clip. Software is good at "something happened here". It is much weaker at "this will make sense to someone scrolling".
The stranger test: picking the winners
Once you have a list of candidates, run each one through these questions. Be strict. Posting three strong clips usually beats posting ten weak ones.
- Would a stranger get it in the first three seconds? If not, can you start later, or add a short title that sets it up? If neither, drop it.
- Where does it really start? Cut as close to the action as you can while keeping the setup the viewer needs. Most first drafts start too early.
- Where does it end? End right after the payoff or the best line. A long fade-out after the laugh loses viewers.
- Does it work with the sound off? Many people scroll muted. Captions fix most of this; see how to add captions to gaming clips.
- Is it clean? No background music you lack rights to, no other people's videos on screen, nothing the campaign asked you to avoid.
- Would you send it to a friend? The simplest test, and a surprisingly good one.
For how long the final clip should be, see the best clip length for TikTok, YouTube Shorts and Reels. Then compare results over a few weeks. Look at which kinds of moments held viewers, and hunt for more of those in the next stream.
Common mistakes
- Watching the whole VOD at normal speed. It burns hours. Scan signals first, then watch the candidates properly.
- Trusting loudness alone. A loud game explosion is not a reaction. Always check why the spike happened.
- Keeping too much setup. Viewers who are not hooked in the first seconds scroll away.
- Clipping only the obvious peak. Everyone in a campaign may clip the same famous moment. A smaller, funny moment nobody else posted can do better.
- Ignoring the brief. Clips that do not match what the creator asked for may not count towards the campaign.
- Reposting viewer clips. Use them to find moments, then cut your own from footage you are allowed to use.
- Posting without checking the audio. One song in the background can get a clip claimed or blocked.
If you are just getting started, our beginner's guide to clipping walks through the whole workflow around this step.
Frequently asked questions
How do I find the best moments in a Twitch VOD quickly?
Scan the chat replay for sudden spikes, look at the audio waveform for loud reactions, check any clips viewers made of the stream, and search a transcript for key phrases. Write down each timestamp, then watch only those spots properly.
Can AI find viral moments in a stream?
AI tools can shortlist likely moments, usually from loudness and the transcript. They are useful for long streams, but they cannot know what will go viral. Watch every suggestion and keep only the ones that make sense on their own.
How many clips should I get from one stream?
There is no fixed number. It depends on how eventful the stream was and what your campaign asks for. A few strong clips usually do better than many weak ones, so keep only moments that pass the stranger test.
What kind of stream moments go viral?
Moments with a clear payoff and a big reaction that need little context: clutch plays, huge fails, jump scares, funny lines and heated arguments. Nothing is guaranteed, and most clips get modest views, so post consistently and learn from your results.
Can I clip moments from any public stream?
No. A stream being public does not give you permission to repost it. Clip your own streams, streams from a clipping campaign that pays you to clip that creator, or streams whose creator has given you written permission.
Keep reading
 Best clip length for TikTok, YouTube Shorts and ReelsThe best clip length for TikTok, YouTube Shorts and Reels, with each platform's current limits and a simple way to trim gaming clips to the right length.
 How to add captions to gaming clipsHow to add captions to gaming clips: generate a transcript, fix misheard names and game terms, and style bold captions that stay clear over busy gameplay.
 How to make money clipping: clipping campaigns explainedHow to make money clipping: how pay-per-view campaigns and direct deals pay, how to judge a campaign, a weekly routine, tax, disclosure and scams to avoid.